Golf columns · Course strategy & scoring
Protecting Your Score on Par 3s
Why the broad middle deserves a look before the flag
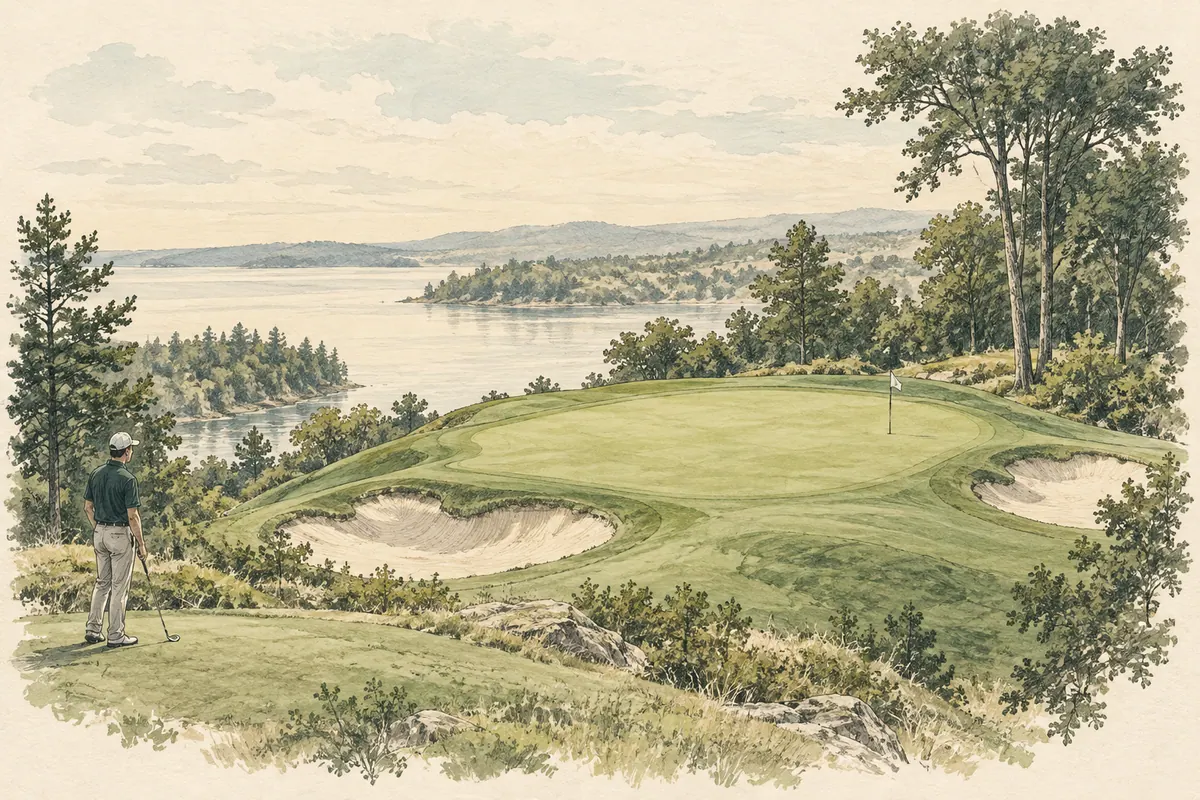
The pin is at the right edge with a bunker beside it. The number seems perfect for an iron, so you aim at the flag, but a small miss leaves a difficult shot. A good par-3 target may be an area that contains your variation, not just a point you want to reach.
Claiming a universal percentage advantage for aiming at the middle would require actual dispersion and course data. There is no need to invent a figure. Lay the same sideways spread over the center and an edge pin to see how safety margins change.
The middle shares room on both sides
At the edge, a small miss on one side goes straight into bunker or rough. A broader area gives a similar error room to remain on the green. That margin is especially useful when today's shape is inconsistent.
Recalculate if the middle has a severe tier or your carry cannot reach it. Understand middle as a broad area that avoids trouble rather than an obligatory point at the map's geometric center.
Do not choose from your best-ever distance
Separate the number to the pin from the carry over the front. Compare a club that covers the required area on normal contact with one that reaches only when perfect. If trouble beyond is severe, examine long misses too.
Set the target after checking wind, tee elevation, and run after landing. Even with a corner flag, leaving the ball on the green with a putt may be enough.
If you do not know your spread, note the shortest and longest results from recent practice at a flag. If that group is wider than the green, precise corner targeting is demanding. Your own repeatable range, not a professional average, is the information needed to adjust the target.
Lay your shot spread over the green
Imagine a flag at the right edge. If aiming there sends your normal right miss off the green, the target leaves little tolerance. Moving toward a broad area can keep the same error on the green. This is a way of examining target and dispersion, not a calculated statistic for an individual's success rate.
Dispersion includes long and short as well as left and right. A club whose ordinary carry reaches the front bunker is not safe just because it points at the center. Ask whether a normal shot fits between minimum safe carry and danger beyond. A broad target must be selected in both direction and distance.
After several range shots with the same iron, remember the shortest and longest as well as the wide misses. Leaving the best shot out of your imagined green makes planning more realistic. In a different measurement environment, even a rough sense of troublesome direction and distance is useful before exact meters.
The safe middle changes with pin position
A large central tier can make the map's middle an uncomfortable place. Compare broad areas on the pin's level and opposite side for the next putt. Yet aiming at a tiny corner to avoid the tier reintroduces the original dispersion problem. Weigh space and next-shot difficulty together.
A short par 3 with a comfortable iron and steady wind may allow a target closer to the pin. On a long par 3 with a long club, the safe area in front can be part of the plan. Middle-first is not a command to choose the same coordinates on every hole; it means choosing where the current shot's error costs less.
The plan continues after missing the green. If choosing the broad side leaves an easy chip, the target still had value. Judge not only a green-hit box but also the lie after a miss and the route to finishing the hole. That review reveals more clearly which holes allowed an attack.
Aiming at the middle is not another name for timid golf. It acknowledges your errors and chooses where they cost less. See the pin, but make the target broader.